Google - Grow & Thrive
How to connect Gmail with Hubspot CRM
Category: CRM,Email Marketing,Google,Link & Grow Author: dreadpixel Date: 3 years ago Comments: 0

This is a brief guide on how to make connection between your Gmail on GSuite(or Free) with Hubspot. Its quite simple and we will list all available features for this.

Key Benefits

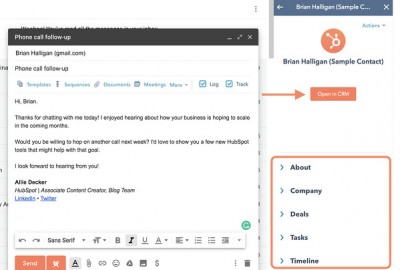
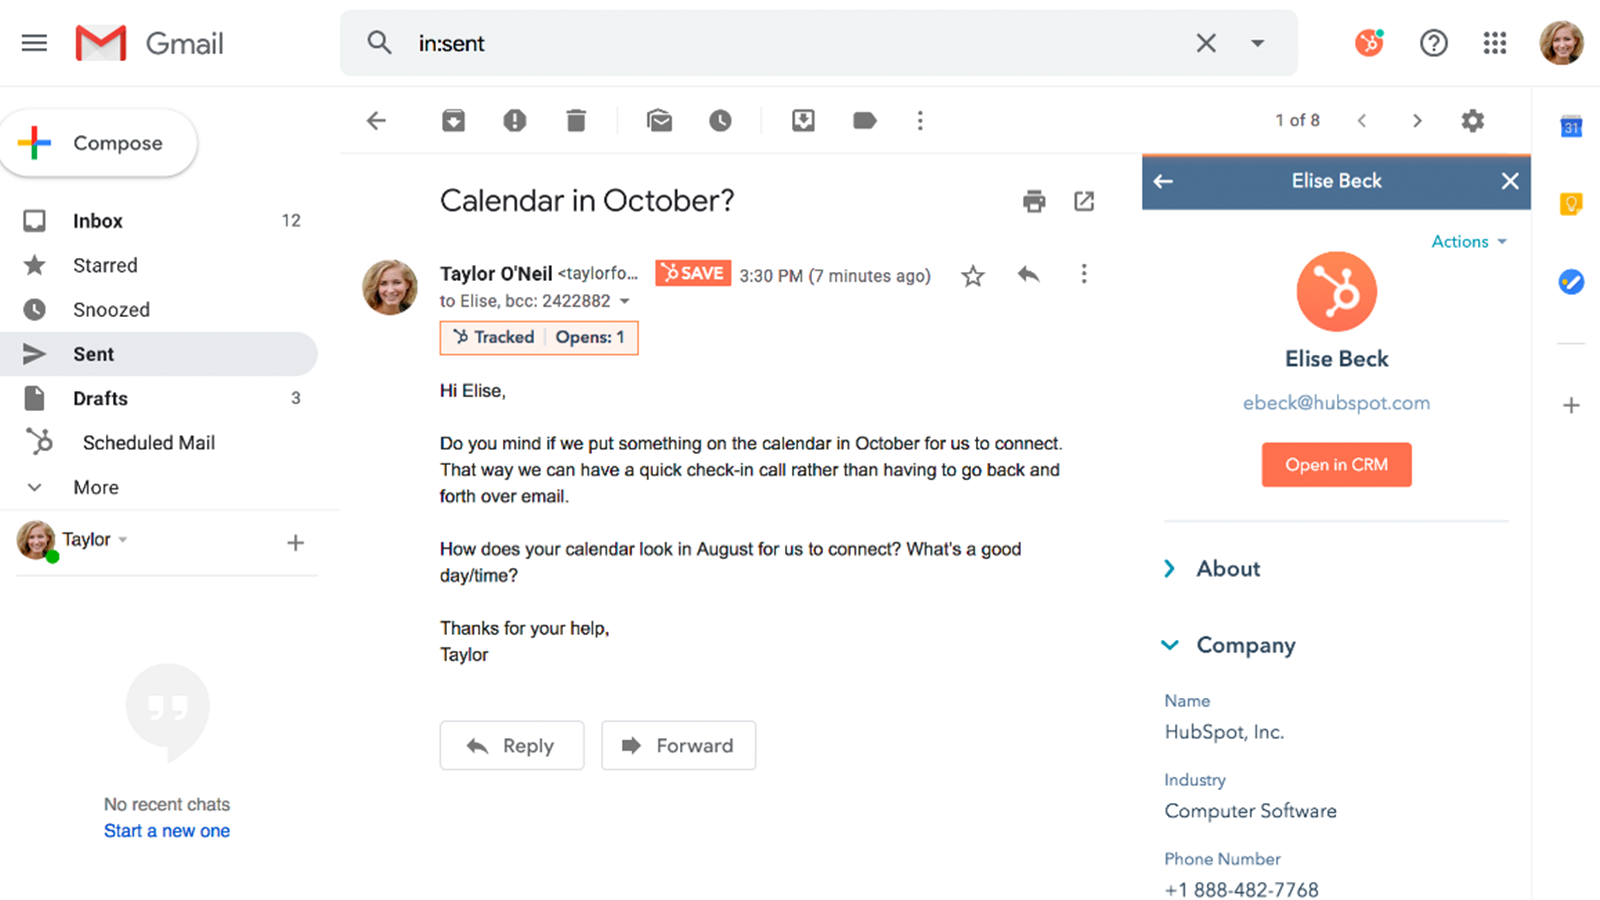
  • Log emails sent from Gmail in HubSpot CRM with one click.
  • Track email opens and clicks in real time.
  • Get access to the tools you need to work more efficiently — like templates, sequences, meetings, and more — right in your inbox.

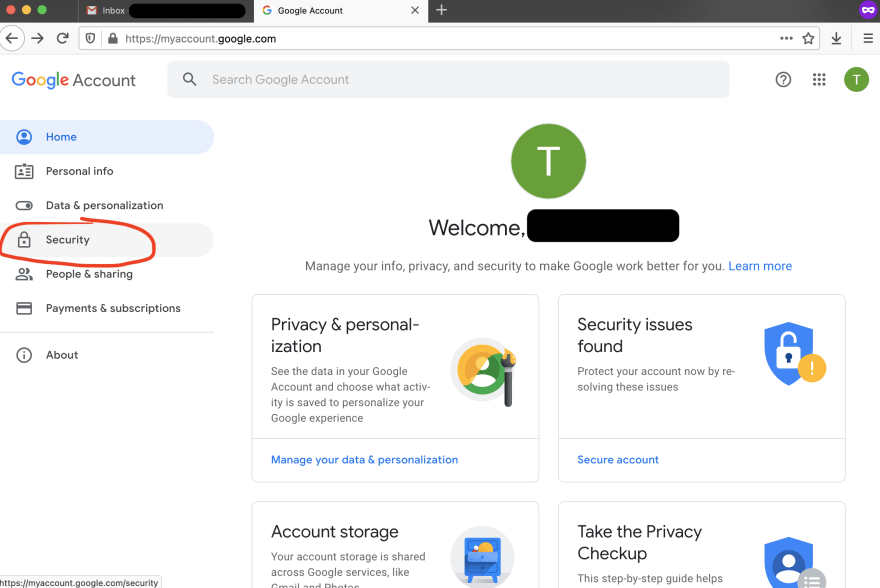
Connect your Gmail account

Please note: if you connect a Gmail inbox that has an alias set up, that alias will show up automatically in the From dropdown menu in the email composer. The alias must be set up in your Gmail account before you connect your inbox.

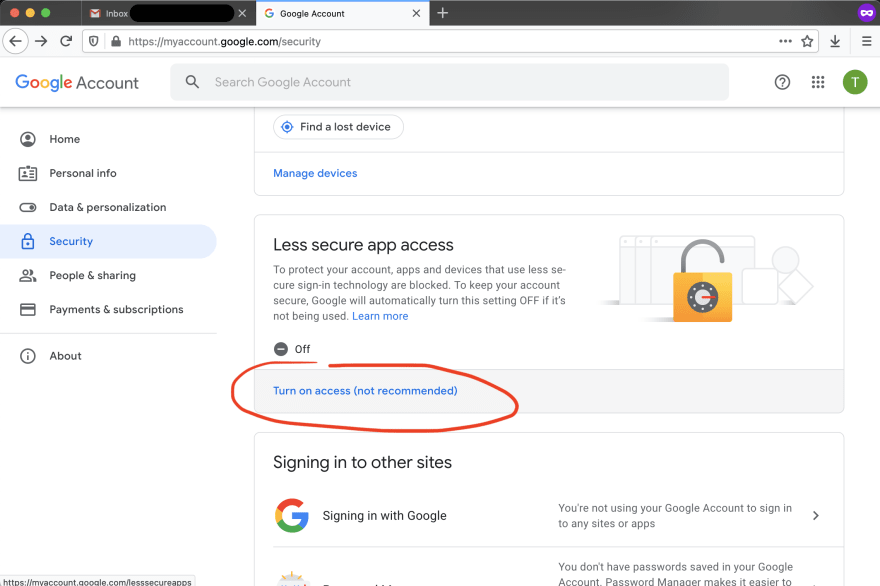
If you have Google’s Advanced Protection Program enabled in your Gmail account, you can’t connect your inbox to HubSpot.

  • In your HubSpot account, click the settings icon settings in the main navigation bar.
  • In the left sidebar menu, navigate to Integrations Email integrations.
  • Click Connect personal email.
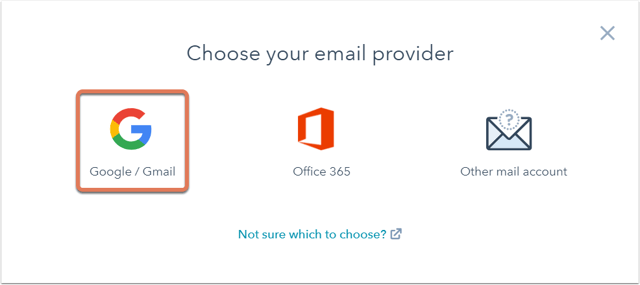
  • Select Google / Gmail.
  • Read through what to expect when you connect your Gmail inbox to HubSpot, then click Continue.
  • You’ll be prompted to log in to your Gmail account. Enter the email address of the Google account you want to use. If you’re already logged into one or more of your Gmail accounts, choose the account you want to connect.
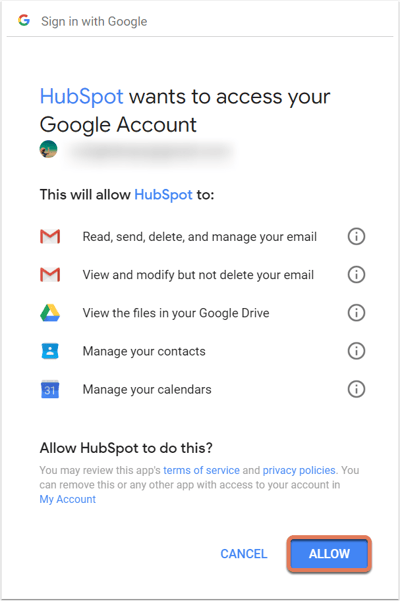
  • Review the required permissions, then click Allow.
  • You’ll be redirected back to your settings, and a dialog box will appear to inform you that your Gmail inbox is now connected to HubSpot.

Keep reading the complete guide here: https://knowledge.hubspot.com/email-tracking/connect-your-inbox-to-hubspot


How to activate SMTP sending on GSuite and use it with Link&Grow
Category: Google,Link & Grow,Tutorial Author: dreadpixel Date: 3 years ago Comments: 0

Activate SMTP sending on your GSuite account can be a pain, but here we gathered a simple 3 Steps guide to activate them right now.

Sign into your Google Account and go to: https://myaccount.google.com/

1.- Go to Security.

Go to your settings, and then to Security.

2.- Scroll down and click on “Turn on access” in the “Less secure app access” panel:

Then go to Less secure app access and click on Turn on access.

3. Finally just click the Toggle so it is blue.

This tutorial is on the Free eBook at: https://ebook.growthrive.net


By-passing Google limitations when scraping thanks to ScraperAPI
Category: Data Extraction,Google,Link & Grow,Proxies,Tutorial Author: dreadpixel Date: 4 years ago Comments: 0

Many users have emailed me saying they are not getting results when scraping Google, even when they added private proxies or backconnect proxies to the list in Accounts Tab. But let me tell you something, Google limits you constantly with CAPTCHAs, so you have 2 options, changing IPs or solving CAPTCHAs with an API but those two options will consume your time to manually switch the VPN to new account. I even tried with some backconnect proxies that most of their IPs were limited by Google.

Here is a very reliable solution I found: ScraperAPI.com  

It is totally a lifesaver and it offers you 5,000 FOR FREE! You will only have to set up your API key on the Config tab and turn on the usage on the option. Here is a video explaining step by step how to do this:

If you have any questions, please leave a comment in this post so I can keep track of support and help other users with the same questions.